Monday, December 5, 2011

Caricature of Steve Buscemi


I did these caricatures of Steve Buscemi in honor of his SNL hosting gig last week (even though I think they totally wasted him).
The first one didn't really convey his essence, so I went a little more grotesque on the second try.

Monday, August 1, 2011

Mural for my neices


This is a new princess/ fairytale themed mural I did for my nieces with three windows in which a story takes place. Their mother, my sister is in the castle, her children are skipping towards her, and their dad is riding on his steed, fighting dragons, on his way to be with them.

Thursday, June 9, 2011

Bear Jew Illustration for Heeb

I just rediscovered this drawing that I did of Eli Roth as the Bear Jew in Inglorious Basterds for Heeb magazine.

Wednesday, May 11, 2011

Final Character Design Lesson

The final assignment of the character design course was to take what we had learned about stylizing characters and to create a new version of our original characters from the first assignment and put it side by side with our first try. On the right is the newer version.
I used what I learned about simplifying and stylizing, achieving equal volumes and balance, among other design principles to create the new version of the character.

Thursday, May 5, 2011

Week 7 Character Design

This week we created the six main expressions for our character: Happiness, Sadness, Anger, Surprise, Fear, and Disgust.
Then we created two body attitudes of our choosing.

Week 6 Character Design


This week we chose either our Jekyll or Hyde character to create turn arounds of.
(I chose my Hyde character.)
The point of a turn around is for the animator to know how the character looks form all angles: front, front 3/4, side, and back 3/4.

Wednesday, May 4, 2011

Week 5 Character Design


This week we had to create finished versions of our  Jekyll and Hyde characters. The process is as follows: start with a blue pencil, draw over it in regular pencil, draw over that in ink (or scan it in and draw over it in Photoshop).

Week 4 Character Design


In the fourth week of my Character Design class, the instructor asked to us to draw features from life (hands, eyes, noses, mouths, and ears) as well as cartoon versions.
These are a bunch of hands I drew, which I really focused on as they tend to be a weak point for me.

Week 3 Part 2 Character Design


For the second assignment this week we had to give multiple options of heads and bodies for our Jekyll and Hyde characters and then to create a fully formed version from our options. After seeing everything the instructor said he liked the bottom left head for Hyde and the top left head for Jekyll. So I ended up going with a variation on those which I used in Week 4.

Week 3 Part 1 Character Design


Week 3 of my character design class was all about creating variety in head shape while keeping in mind a basic understanding of how the skull works. The second part was learning how to carry over realistic heads into caricature. The assignment was to do a realistic portrait of the "bowler hat man" as well as three or more caricatures of the same man using different head shapes.

Week 2 Character Design


These are screenshots from my critique video of Lesson 2 in my Character Design class. We had to find reference photos and create silhouettes for our new characters that we would be working with throughout the rest of the course. The assignment was to create new versions of Jekyll and Hyde. My idea was a preppy teenager in the 80's as Jake Jekyll and his alter ego was a glam rocker named Venom Hyde. I found this assignment to be surprisingly difficult, especially when trying to get a little variety in the Hyde character.

Tuesday, May 3, 2011

Week 1 Character Design


 I took a 9 week online course at the beginning of this year on Schoolism.com with instructor Stephen Silver. He is a renowned character designer and has worked for Nickelodeon, Disney, and Cartoon Network (notably shows like: Kim Possible and Danny Phantom).
This was a truly amazing course and inspired me so much to really apply myself and go after what I want. The great thing about Schoolism is the process. You watch the instructional videos online, do the assignment within the week, upload it to the site, and the instructor sends back a video in which he critiques your work and draws over the top of it on Photoshop.
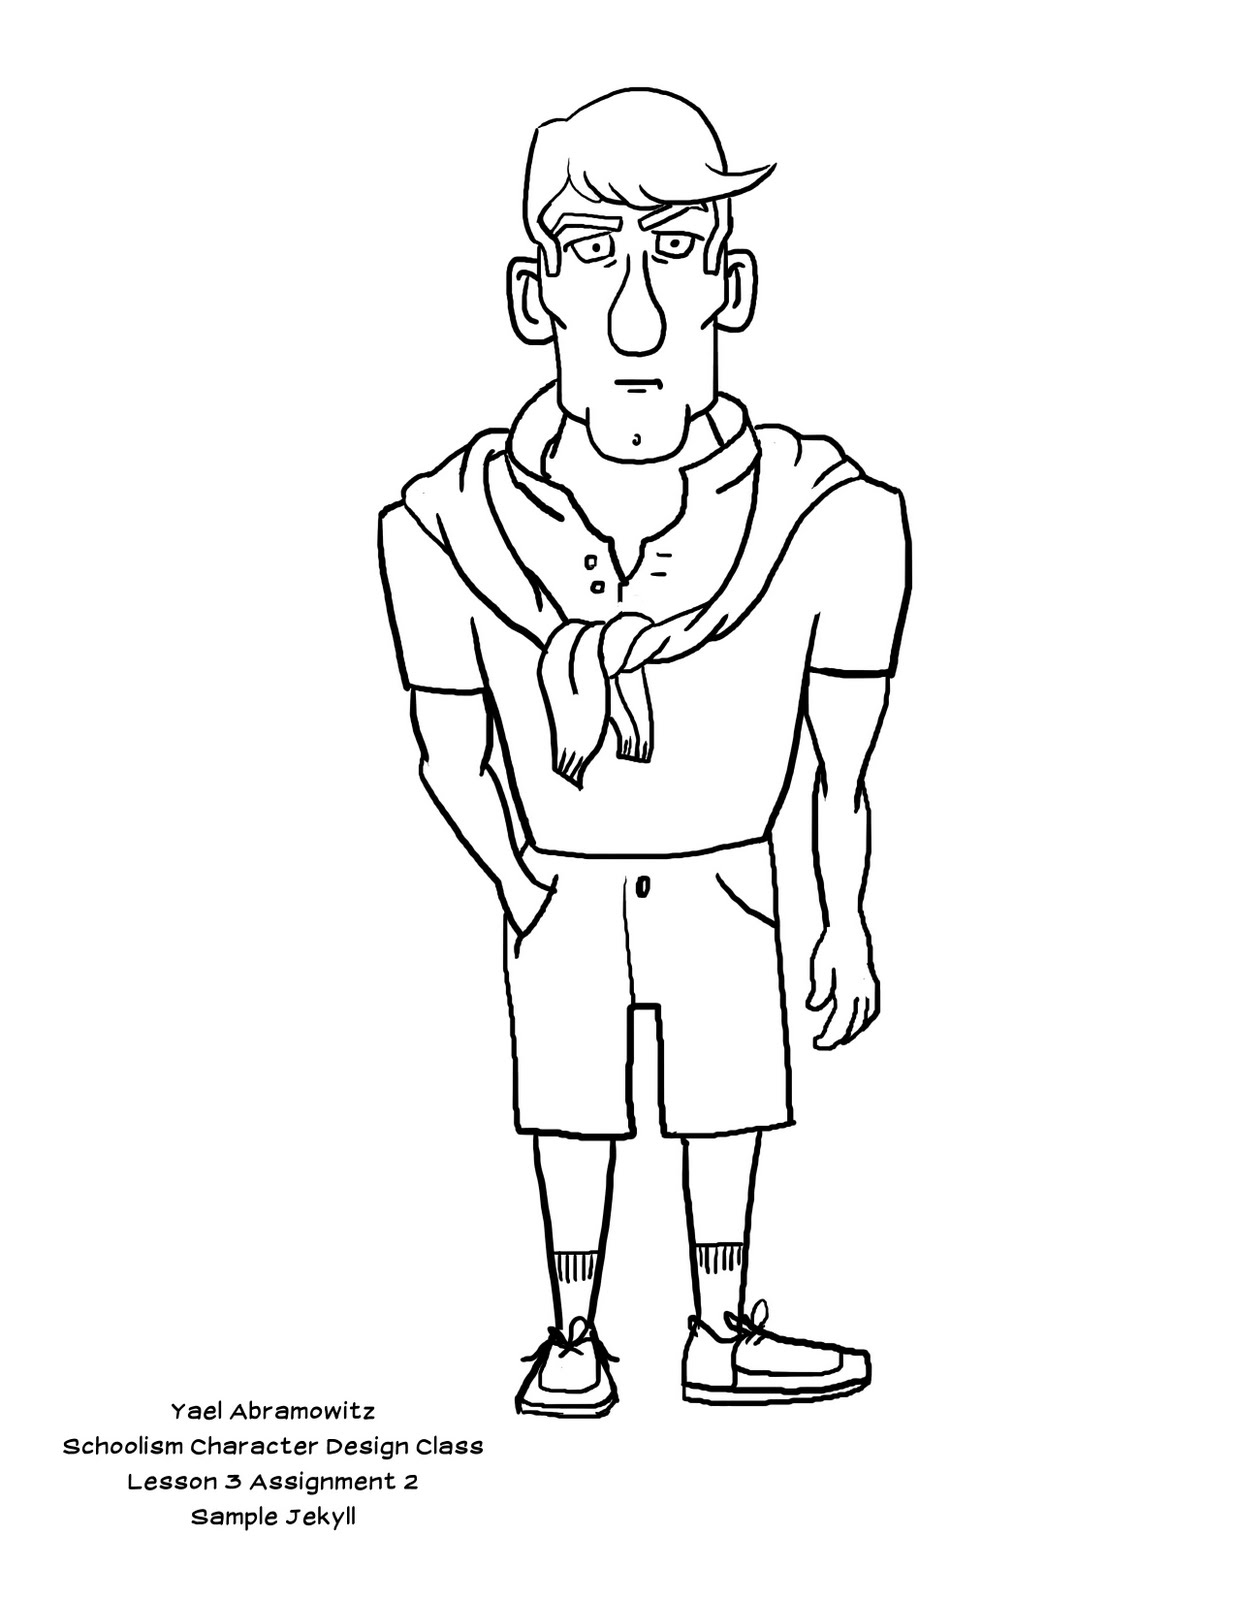
The first week's assignment was to create a character based on a given description. We had no instruction on technique up until this point. It was basically a way for the instructor to see where we stood in terms of skill. These are my first attempts...

My Glee comic strip for Heeb


In my last weeks at Heeb before I moved to Israel I did a comic strip based on the TV show Glee, one of my personal favorites! The concept was mine, though it was written by an editor. I was asked to represent the characters grotesquely, hence the outcome. The last panel was a Lichtenstein inspired conclusion of the comic. It was called "An Illustrated Plea for More Jew on Jew Action on Glee".
I created this comic with micron pen and colored it in Photoshop.

Chunk is a fan!


While I was working at Heeb I ended up doing a caricature for an article. When the editors saw it they started having me draw all the time and I loved it. This is when I finally got my first bit of recognition. The top photo is a set of caricatures I did for the Heeb 100 Greatest Jewish Movie Moments. Pictured are Alicia Silverstone, Jeff "Chunk" Cohen (of Goonies fame), Woody Allen, and Goldie Hawn. Well, Jeff "Chunk" Cohen saw the caricature of himself on the Heeb site and he offered to buy it. So now it is hanging in his office in NYC!

Working for Heeb Magazine

In 2009 and 2010 I was working for Heeb magazine in New York City, originally as a graphic designer. I mostly designed event flyers and also created some images to go along with articles as well as some other goodies like t-shirt and greeting card designs. While a lot of it was off- color, it was a great experience that gave me lots of exposure.
These are a few flyers I did using Adobe Illustrator and Photoshop.